Ray is the best home for Next.js debugging output
19 June 2023
Sam

Next.js development comes with a unique challenge when it comes to debug logging. With different rendering options and environments, switching between the node.js developer console and the browser console all the time can become cumbersome. Both consoles take up about 50% of my laptop screen and can't format my logs the same way. This disjointed experience makes it difficult to track the origin, context, and timeline of console.logs.
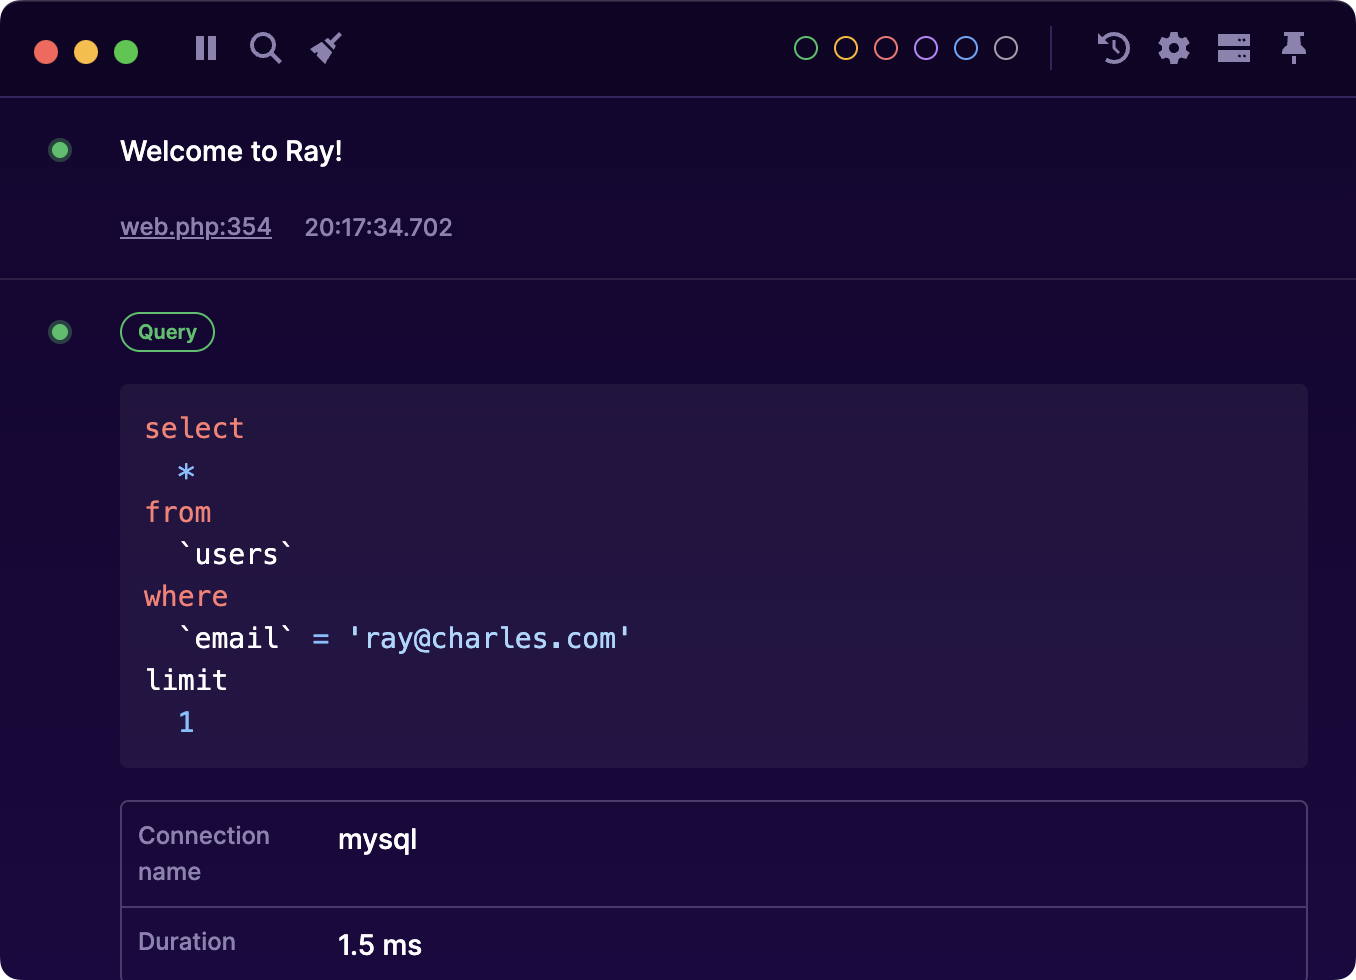
Ray solves that problem: it can show your backend and frontend logs into a single standalone app, providing a unified and beautiful logging output.

Seeing all your next.js logs in one place
Ray is a stand-alone desktop application that can handle debugging output from various sources. It is well known and heavily used in the PHP and Laravel ecosystem, but it also works for JS apps.
In a next.js context, Ray consolidates your backend and frontend logs into a single standalone app, providing a unified and beautiful logging output.
Ray's smart formatting options enable you to display log data such as dates, booleans, objects, and rendered or highlighted HTML. You can even update a log in place.
Additionally, Ray automatically adds information about the log's origin and render type. This enables quick links to the exact line of code that made the log happen.

With the ability to show and filter logs by color labels, you can easily organize and navigate your logs while remaining focused on your code.
Gettinging started with Ray in next.js
First, download and open the Ray app, then run npm install next-ray in your Next.js project and add the project root path to your .env file under LOCAL_PATH=.

With the package installed, let's send our first call to Ray.
import ray from 'next-ray';

ray('Hello Ray!');
That's all you need to never return to console.log again.
Want to get hooked on Ray from inside your client components? I've given you some extra functionality inside next-ray/client
import ray, { useRay, useRayWithElement, Ray } from 'next-ray/client'
Ways to use Ray in Next.js
When debugging an RSC interaction, you can add ray().clearScreen(); to the beginning of a page.tsx server component to always work with a single request on one Ray page.
When debugging a specific component, you can move the clearScreen call inside a useEffect so you can tab through the pages of contextually similar logs.
You can use useRay(someState, { replace: false }) directly under useState hooks to check when updates happen and what the new value is.
We provide a<Ray> component, that goes around components that quickly change like a loading state. You'll get a visual timeline of the component's behavior while fetching data. If you use tailwind or inline styles, they will be visible in the Ray app.

Data types enforce specific formatting options inside the Ray app. Your logs will be even more informative and readable.
You can use useRay(props, { type: 'toJson' }) for inspecting an entire JS object at once without adding descriptive labels.
These are some of the available methods:
-
notify: Notifications made easy. -
error: Send your caught errors straight to Ray to see the stack trace. -
table: Format your rows of data as a table. -
measure: Measure how long something takes. -
confetti: For that extra dash of 'yesss, it works!'.
In closing
At Spatie, we love seeing how you integrate the Ray app into your workflows, so don't hesitate to tweet us your favorite features and what you want to see in the next version of Ray.
We like to thank Patrick from Permafrost dev for his work on Ray's react integration and feedback on the next.js parts.
Stay in the loop with updates & promotions for Ray
We only send a few emails a year.

Debug without breaking your flow
Ray keeps all your debug output neatly organized in a dedicated desktop app.
Licenses are valid for 1 year and managed through Spatie. Licenses purchased before Ray 3 remain valid. VAT is calculated at checkout.


