Using Ray with WordPress
WordPress is an open-source content management system built with PHP, powering a large portion of the web. Use Ray to debug your WordPress theme and plugin development.
#Installation
#Global installation
The easiest ways is the global installation. This will make the ray() function available in any WordPress (and PHP file on your system).
Issue these commands to install the global-ray package:
composer global require spatie/global-ray
global-ray install
You can now use the ray() function and all of its framework agnostic capabilities. In each WordPress app you can also use these functions:
dump($variable): dump any kind of variable to the CLI.dd($variable): dump any kind of variable to the CLI and terminate the script.
To use the WordPress specific capabilities of Ray, you should install wordpress-ray into the WordPress app.
#Manually cloning the repo
Inside the wp-contents/plugins directory run this command
git clone git@github.com:spatie/wordpress-ray
#Installing via the WordPress admin interface
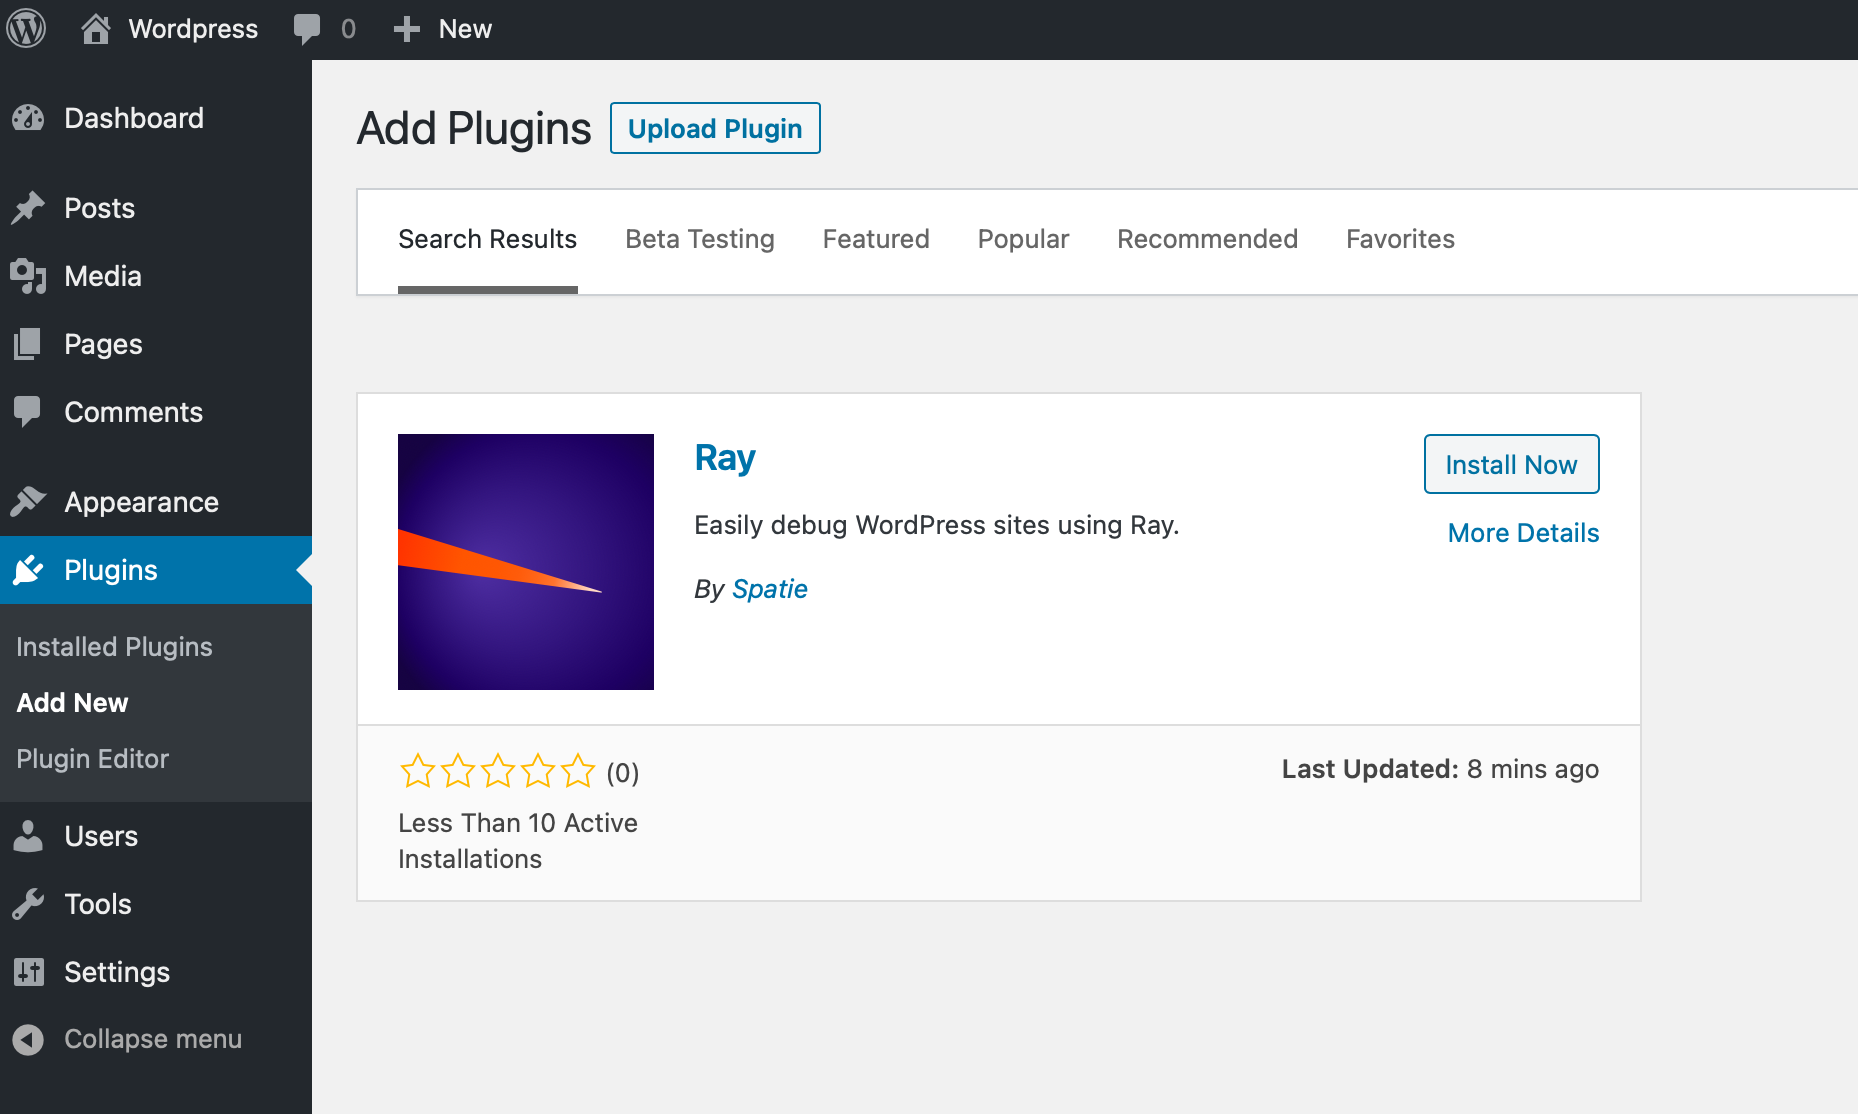
Ray is also registered as a plugin on WordPress.org. In the admin section of WordPress, go to "Plugins" > "Add New", and search for "Spatie Ray".

Install and activate the plugin.
#Must use plugins
By default WordPress loads your plugins in the following order:
- Checks for any must-use plugins directory (default = /wp-content/mu-plugins).
- Then, if you're running a multisite installation, it checks for plugins that are network-activated and loads those.
- Then it checks for all other active plugins by looking at the active_plugins entry of the wp_options database table, and loops through those. The plugins will be listed alphabetically.
If you wish to debug your plugins within the Ray app it is recommended that you install the plugin into your /wp-content/mu-plugins directory. Further details on Must Use Plugins can be found here:
To install, inside the wp-content/mu-plugins directory run this command:
git clone git@github.com:spatie/wordpress-ray
Next, from the just created wordpress-ray directory, run this command:
composer install -o --no-dev
You'll then need to create ray-loader.php within /wp-content/mu-plugins and include the following code:
require WPMU_PLUGIN_DIR.'/wordpress-ray/wp-ray.php';
#Configuration
#Setting the environment variable
When developing locally you should have WP_ENVIRONMENT_TYPE set as local in your wp-config.php otherwise Ray won't work.
define( 'WP_ENVIRONMENT_TYPE', 'local' );
#Production environments
By default, Ray is disabled in production environments. If you want to use Ray in a production environment, you must explicitly enable it with ray()->enable().
For more information about using the enable() function, see the framework agnostic docs.
#Usage
This section covers the WordPress-specific methods available in Ray. All generic PHP methods are also available in WordPress.
#Showing queries
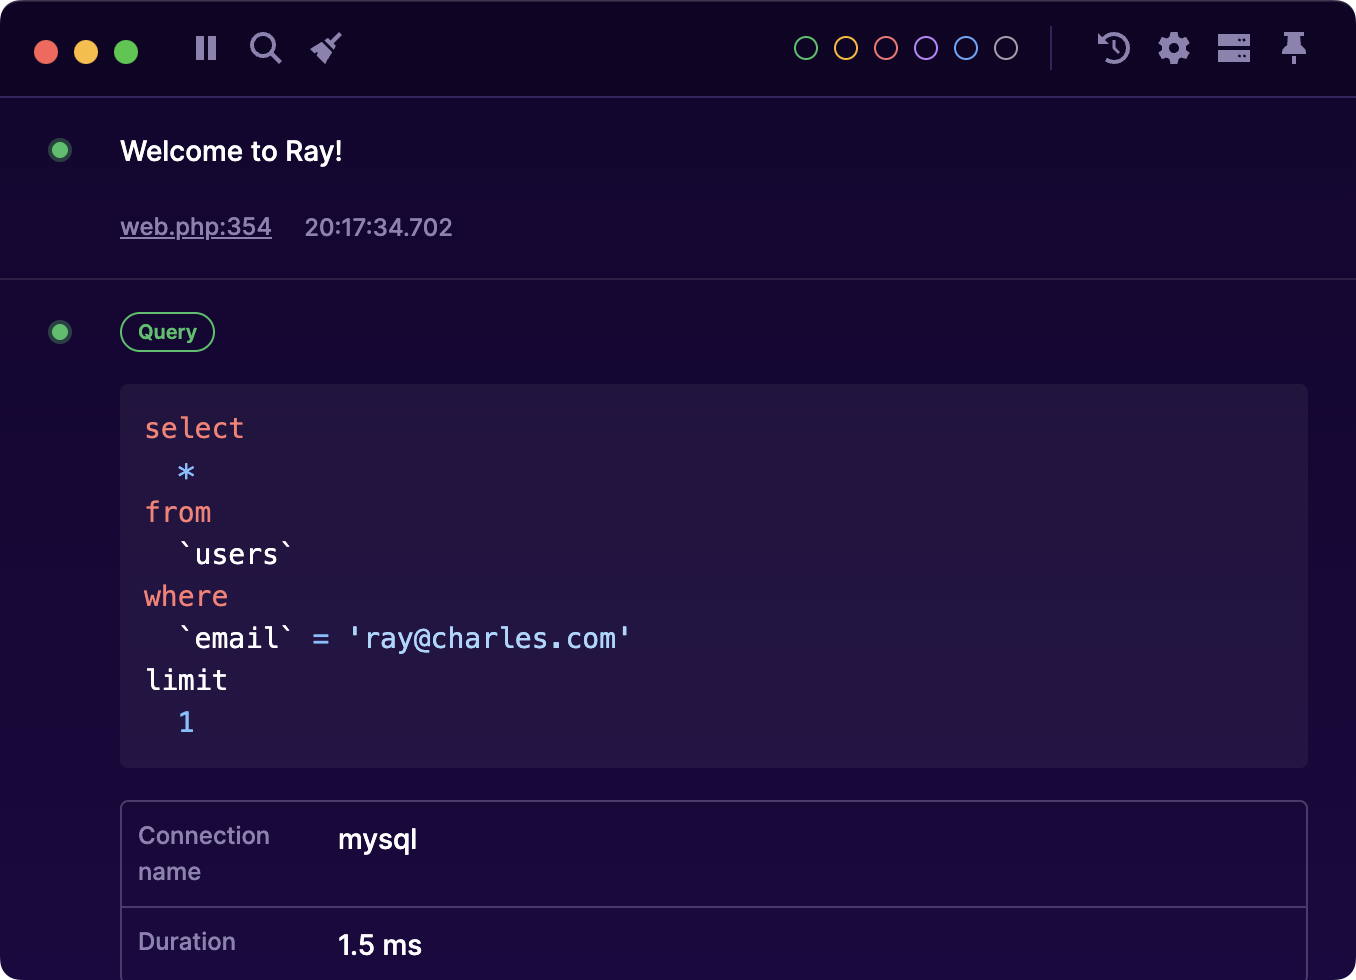
You can display all queries that are executed by calling showQueries (or queries).
ray()->showQueries();

// somewhere else in your WordPress app
global $wpdb;
$result = $wpdb->get_results( "SELECT * FROM wp_usermeta WHERE meta_key = 'points' AND user_id = '1'");
To stop showing queries, call stopShowingQueries()
#Displaying mails
To show all mails sent in Ray call showMails().
ray()->showMails();

// somewhere else in your WordPress app
wp_mail('to@email.com', 'my subject', 'the content');
To stop showing mails, call stopShowingMails().
#Displaying WordPress errors
To display all WordPress errors, call showWordPressErrors()
ray()->showWordPressErrors();
To stop showing errors, call stopShowingWordPressErrors().
#Displaying WordPress hooks
To display all WordPress hooks, call showHooks()
ray()->showHooks();
To stop showing hooks, call stopShowingHooks().
#What's next?
Now that Ray is installed in your WordPress project, see what you can use it for.
Repository: spatie/wordpress-ray


